Adding your own data to the MyInfo system can be accomplished in one of three ways: Through a spreadsheet, through the map view, or through one of the many well data view pages on the site.
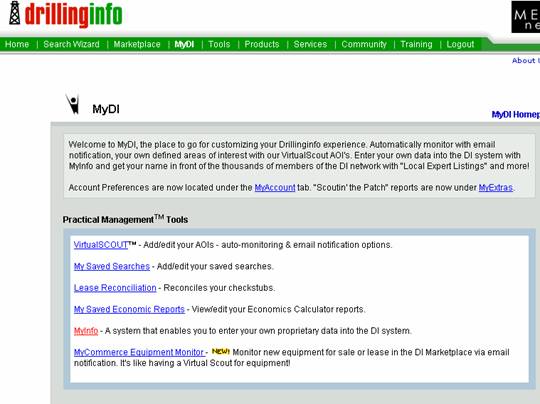
To access the MyInfo bulk loading system, such as spreadsheet information, click on MyDI from the green toolbar and then select MyInfo from the Practical Management Tools page. At the bottom of the page you will find a selection of three Tools&ldots;
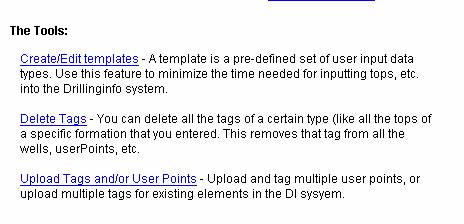
The first step will be to create a template for the data being input by clicking on the Create/Edit Templates button. This step allows you to define what data exists in each column of the spreadsheet you are importing.

You may either create a template by clicking the Create A New One link or edit a pre-existing one you have created in the past.
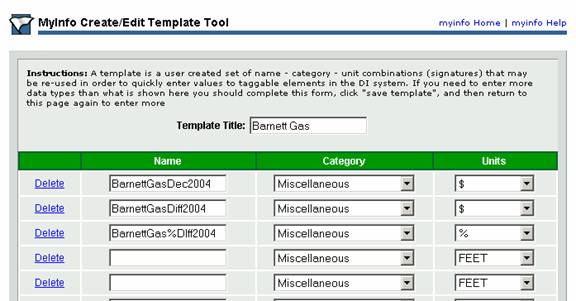
In this case, we will import an excel spreadsheet of Barnett Wellhead Gas Prices and associated information calculated from our ”Market” search option. We define Barnett Gas Dec 2004, the price differential from the mean, and the percent difference from the mean. We make category ”Miscellaneous” and select the appropriate units. The template matches our spreadsheet&ldots; i.e. the first column(s) is (are) location data (in our case API’s), the first data column is BarnettGasDec2004, the second data column is BarnettGasDiff2004, and the third data column is BarnettGas%Diff2004. At the bottom of the sheet is a Save Template button, which we press now. We now press the MyInfo Home button along the blue title line.
We now click the Upload Tags and User Points button.
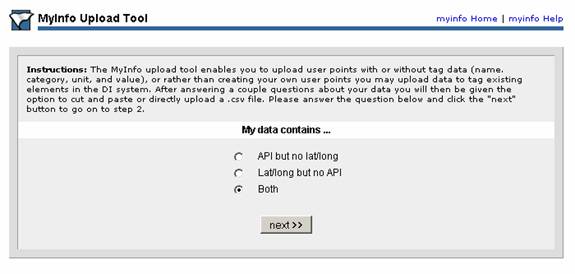
In this page, we select what kind of location data we are dealing with. We will select API but no lat/long.
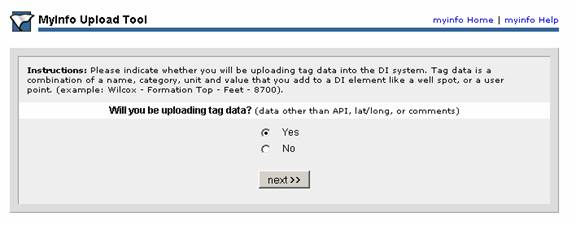
This page allows us to define whether we are just defining new points, for later tagging perhaps, or are we both defining AND adding data to the points. Since we are adding data to Drillinginfo well spots (defined by API) we select Yes.
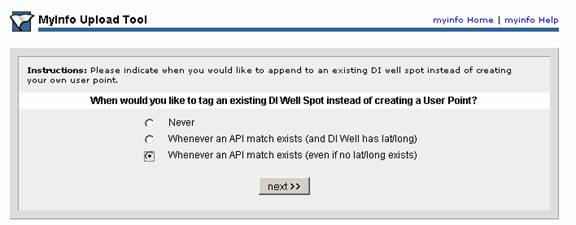
The next page asks us whether we want to create a new User Point (Taggable Element) or do we want to add to DI well spots or both, depending upon conditions. In this case, we select Wellbore Only, and we do not care if it has a lat long.
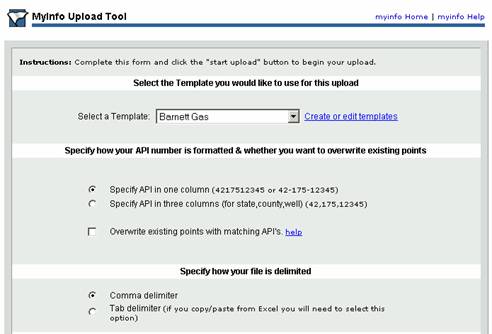
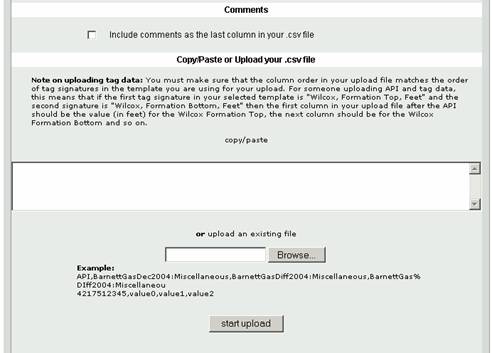
We select Tab Delimited since it is coming from a copy and past from an excel spreadsheet. We do not click the Overwrite existing points with API button since that will serve to overwrite any data already written to the API already.
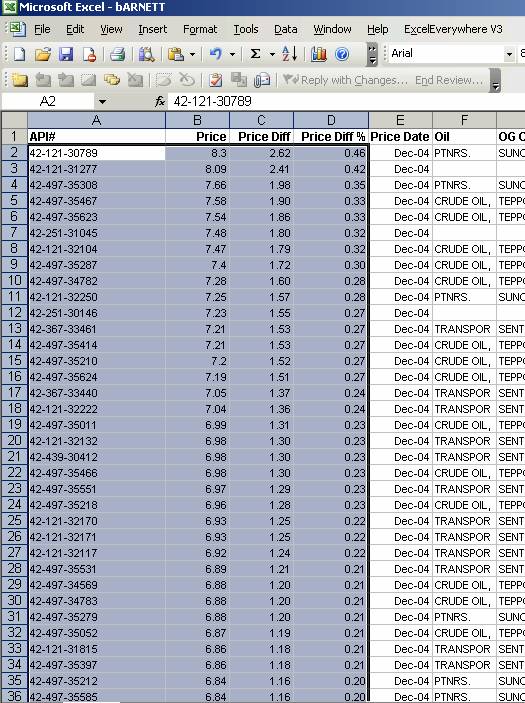
We then go to our spreadsheet and select and copy the columns we want&ldots; in this case API’s for location, Price, Price Diff, and Price Diff% as we defined on our template. We then copy these to the copy paste box above and click Start Upload. You have no down a bulk upload.
To perform element by element tagging, you may either do it through the Map Interface or the myriad of page views Drillinginfo provides for wellbore data views, for instance in the ”Relational Data” link in the Gas Completion Hub Page below.
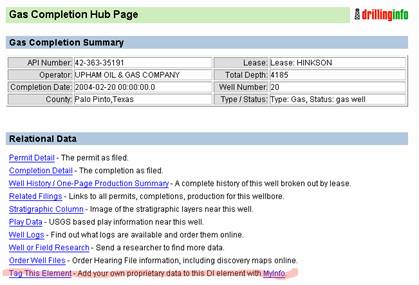
By clicking ”Tag this Element”, you will be given the alternative to select a template, create a template, or just add data to the element. Tag links occur in permit views, Related Filings, and along the top of nearly every well and production view page. This is helpful if you are going through several wells and looking for specific information that you might want to search or map, such as stimulations, temperatures, decline rates, etc.
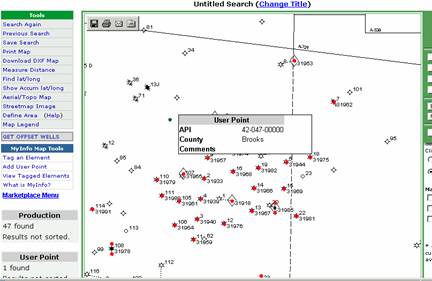
When your data is In map view&ldots;
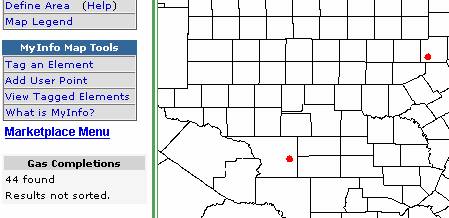
By clicking ”Tag an Element” button to the left of the map and then clicking an active map spot, you will be given the alternative to select a template or create a template as in the bulk upload portion, or just add data to the element without a template (NOT ADVISED).
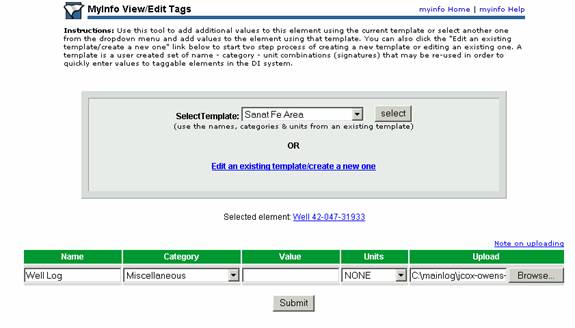
As a neat additional feature, data values are NOT the only thing you can upload&ldots; you can attach files such as LAS curves, excel spreadsheets, word documents, or scanned images to a data feature for future searching. For instance, if you defined a land template, you could actually attach PDF or scanned images of your lease, as well as add data such as bonus date, expiration date, instrument date, bonus amount, lease NRI and more.

If the element already has data attached, you can view the data independent of which template was used to attach data. You may edit or delete individual data items here.
By clicking ”Add User Point”, you are given the opportunity to click on a location on the map with no DI point and add your own. This is an excellent way to add well data that is not in the Drillinginfo systems or to add non-well data that you might want to search later. A popular use for this is to define a land position with a point, and upload either land data or documents to the point for later perusal..
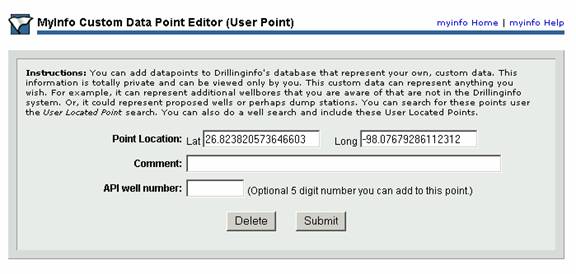
The page returned will contain a lat lon pair for the point location, a comment or identifier for the point and an optional 5 digit identifier number you can add the point defined.
Once the point is defined, you can Tag it as you would a well spot above.
A cool utility for quickly tagging a variety of wells at one time is the QuickTag functionality found in the table Tools box. This useful tool comes in handy for projects in which you are searching for wells with specific behavior that you might want to search for later&ldots; For instance ”Barnett Wells that Have Not Had Their First Frac” that you eyeball by looking at each wells production decline curve and checking those wells that have not had a first frac.
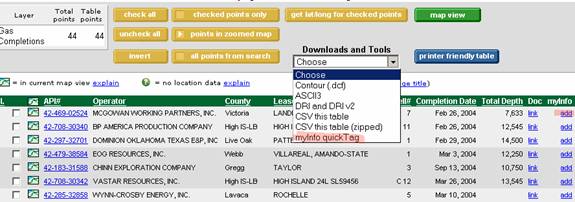
First, make sure you have checked the wells you want Quick-Tagged&ldots;
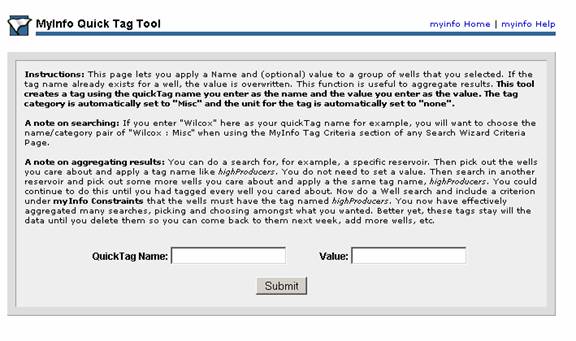
Second, give the tag a name and a value, such as ”Barnett Not Frac’ec” for Quick Tag Name and ”1” for Value. Viola. You have now identified and marked a valuable subset of wells. Performing a production search for these wells with Practical IP rate and latest production values will highlight which wells are the best candidates for refracs. It will also let you monitor these wells to see how future refracs are performing. The strength of the MyInfo data system is its flexibility&ldots; it will allow you to do whatever you want!
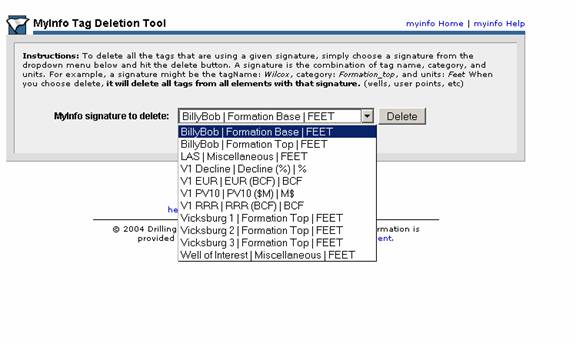
To Delete an Element, just select that option from the MyDI:MyInfo section.